





How to Install an Acrylic Mirror Sheet
Author:Hanson Zhang – S-Manager
Whether you are upgrading a commercial showroom, designing a modern interior, or working on a custom signage project, a mirror acrylic sheet is the perfect alternative to traditional glass. It offers the same brilliant reflectivity but with half the weight and ten times the impact resistance.
However, because acrylic sheet is flexible, improper installation can lead to a distorted, “funhouse” mirror effect.
In this comprehensive guide, we will walk you through exactly how to install an acrylic mirror sheet flawlessly to achieve a perfectly flat, crystal-clear reflection every time.
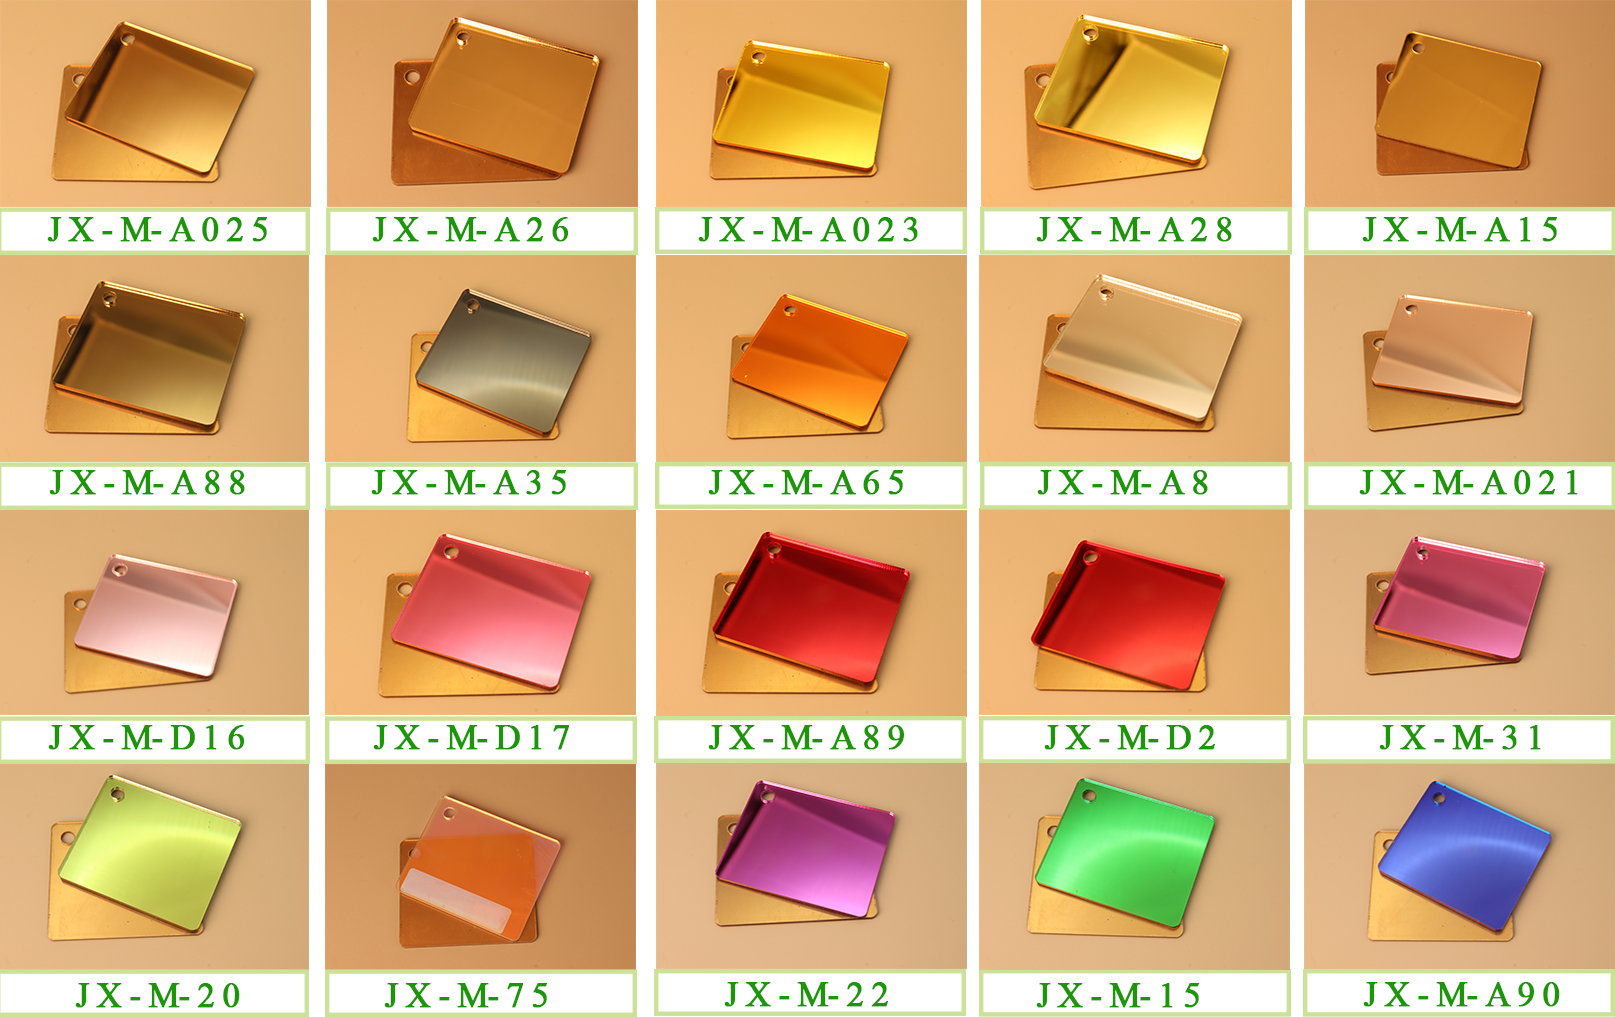
Before diving into the installation, it helps to understand why this material is a favorite in modern architecture and foreign trade manufacturing:
①Shatterproof & Safe: Ideal for high-traffic environments, schools, and gyms.
②Lightweight: Easy to transport, handle, and mount without heavy-duty structural support.
③Easy to Fabricate: Can be easily laser-cut, drilled, and routed into custom shapes.
Pro Tip: For the best optical clarity and durability, always source high-quality, 100% virgin MMA premium sheets. Top-tier manufacturers like Juxin Plastic provide premium mirror acrylic sheets that offer superior flatness and weather resistance, minimizing the risk of warping during installation.
【Step 1: Prepare the Substrate (Crucial Step)】
The golden rule of installing a mirror acrylic sheet is that your mirror is only as flat as the wall behind it. Because acrylic is flexible, any bump, texture, or screw head on the substrate will transfer to the sheet and distort the reflection.
①Clean the Surface: Ensure the backing wall or board is completely dry, clean, and free of dust, grease, or peeling paint.
②Leveling: If the wall is uneven, we highly recommend mounting the acrylic sheet onto a flat, smooth substrate first—such as a piece of 12mm MDF, plywood, or smooth PVC foam board.
③Acclimatization: Let your acrylic sheets sit in the installation room for 24 hours to adjust to the local temperature and humidity.
Depending on your project requirements, you can install a mirror acrylic sheet using adhesives, mechanical fasteners, or a combination of both.
Method A: Using Mirror Adhesives (Best for a Clean Look)
If you don’t want visible screws, adhesive bonding is the way to go.
①Warning: Never use standard solvent-based construction adhesives or superglues. The solvents will eat through the protective grey backing of the mirror sheet, ruining the reflective silver layer.
②What to use: Use a specialized acrylic mirror adhesive or a neutral-cure (non-acidic) 100% silicone.
Execution:
①Leave the protective plastic film on the front/reflective side of the sheet for now.
②Apply the adhesive to the back of the sheet in vertical, parallel lines spaced about 10–15 cm apart. Do not apply adhesive in blobs or closed rings, as this traps air and moisture, causing optical distortion.
③Carefully press the sheet onto the wall, applying even pressure across the entire surface using a clean rollers or a soft cloth.
Method B: Using Screws & Mechanical Fasteners (Best for Large Sheets)
For large-scale installations or exterior signage, mechanical fastening ensures maximum security.
Execution:
①Pre-Drill Holes: When drilling holes in a mirror acrylic sheet, use a drill bit specifically designed for plastics. Always drill holes that are 2–3mm larger than the screw shank. This allows the acrylic to expand and contract with temperature changes without cracking.
②Drill from the Front: Always drill from the reflective side through to the backing.
③Don’t Over-tighten: Tighten the screws until they are flush, but do not overtighten. If the screw pinches the sheet, it will cause local distortion or cracking. Use rubber washers to cushion the pressure.
【Step 3: The Final Reveal】
Once the sheet is securely mounted via adhesive or screws, it’s time for the most satisfying step:
①Allow the adhesive to cure fully according to the manufacturer’s instructions (usually 24–48 hours).
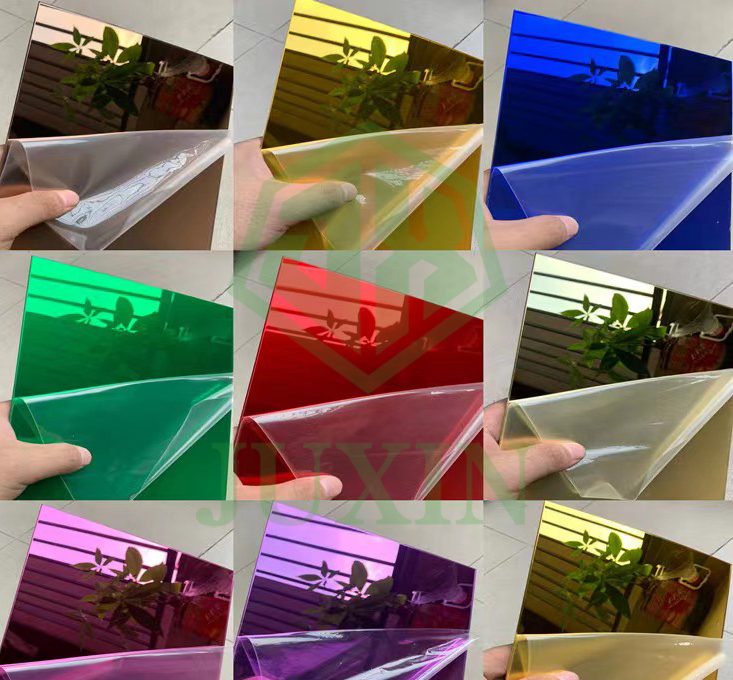
②Peel away the protective film from the front face of the mirror acrylic sheet.
③Inspect the reflection. If you notice slight distortion in an adhesive setup, gently roll over that area again to flatten out any thick adhesive ridges.
【Cleaning and Maintenance Tips】
To keep your newly installed mirror looking flawless, follow these care guidelines:
① Do not use glass cleaners (like Windex) or alcohol-based sprays. They will cause the acrylic to craze (develop tiny hairline cracks).
② Do use a mild soap-and-water solution or a dedicated anti-static plastic cleaner.
③ Always use a clean, soft microfiber cloth. Avoid paper towels, which can leave microscopic scratches on the surface.
【Conclusion】
Installing a mirror acrylic sheet is a straightforward process that yields stunning, high-end results—provided you focus on substrate flatness and use the correct non-solvent adhesives. By choosing premium materials from trusted global suppliers like Juxin Plastic Group, you ensure a flawless, glass-like reflection that lasts for years.